



Small Cracks in Your Concrete Driveway? Here’s What to Do
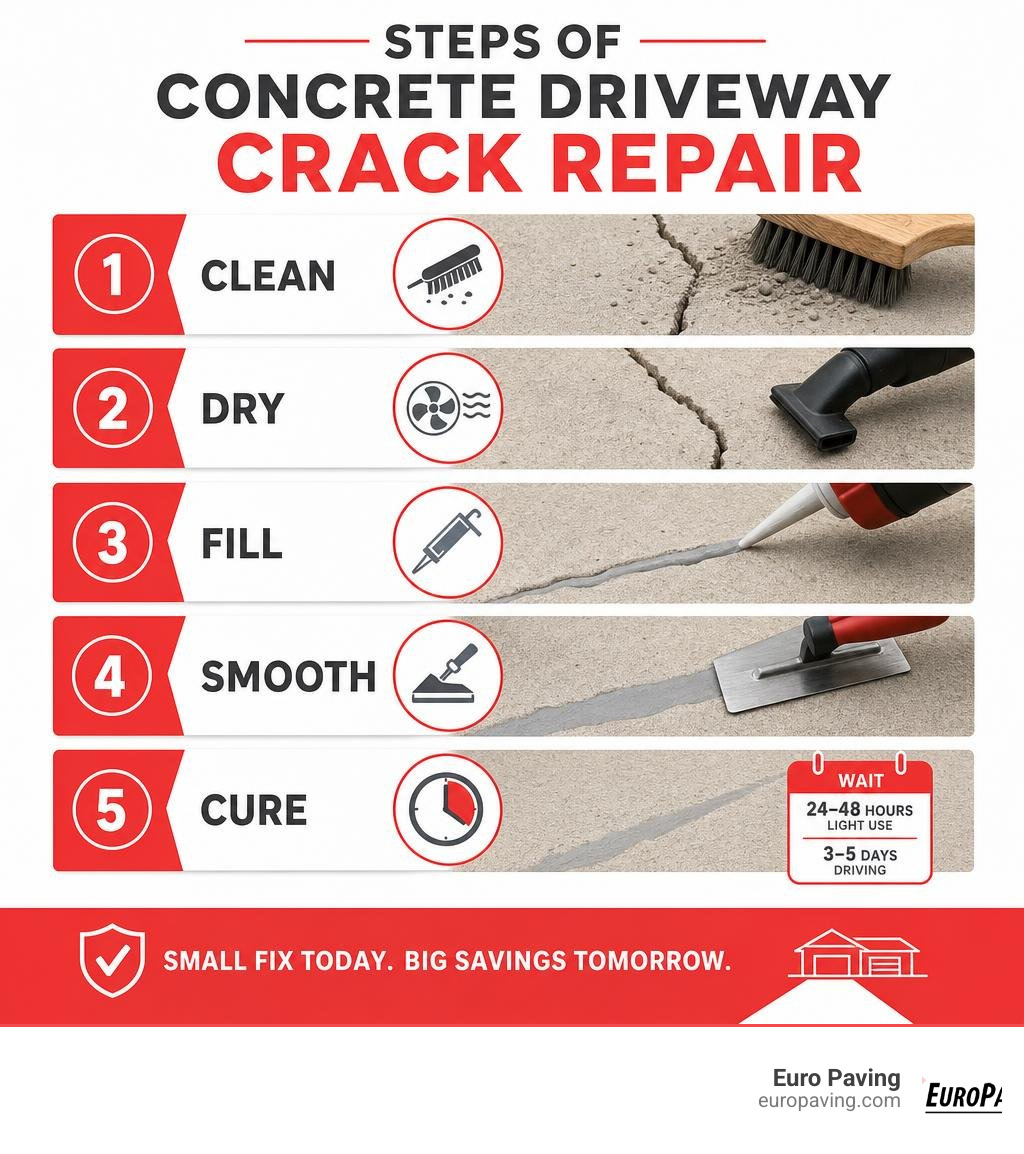
If you need to repair small cracks in your concrete driveway, here’s the quick answer:
- Clean the crack thoroughly with a wire brush and vacuum out all debris
- Dry the area completely before applying anything
- Fill with a flexible polyurethane or self-leveling caulk filler
- Smooth the surface flush and sprinkle with sand for texture
- Wait 24-48 hours before light use, and 3-5 days before driving on it
Three things in life are certain: death, taxes, and cracks in your concrete driveway.
Nearly 60% of concrete driveways develop cracks within the first 10 years. It’s not a sign of failure — it’s just how concrete behaves under weather, load, and time.
The good news? Most small cracks are easy to seal yourself. A basic repair costs as little as $10-$60 in materials and takes half a day. Done right, it can add years to your driveway’s life and prevent much costlier damage down the road.
The key word is done right. Around 70% of a repair’s success comes down to prep work — not the filler itself. Skip the prep, and even the best product will fail.
This guide walks you through exactly how to do it.
Relevant articles related to repair small cracks in concrete driveway:
Why Concrete Driveways Crack: Causes and Assessment
Before you grab a caulking gun and start squirting filler into every line on your driveway, it helps to understand why concrete cracks in the first place. Think of your driveway as a rigid, heavy sheet of stone sitting on a shifting bed of soil. It wants to stay still, but the world around it has other plans.
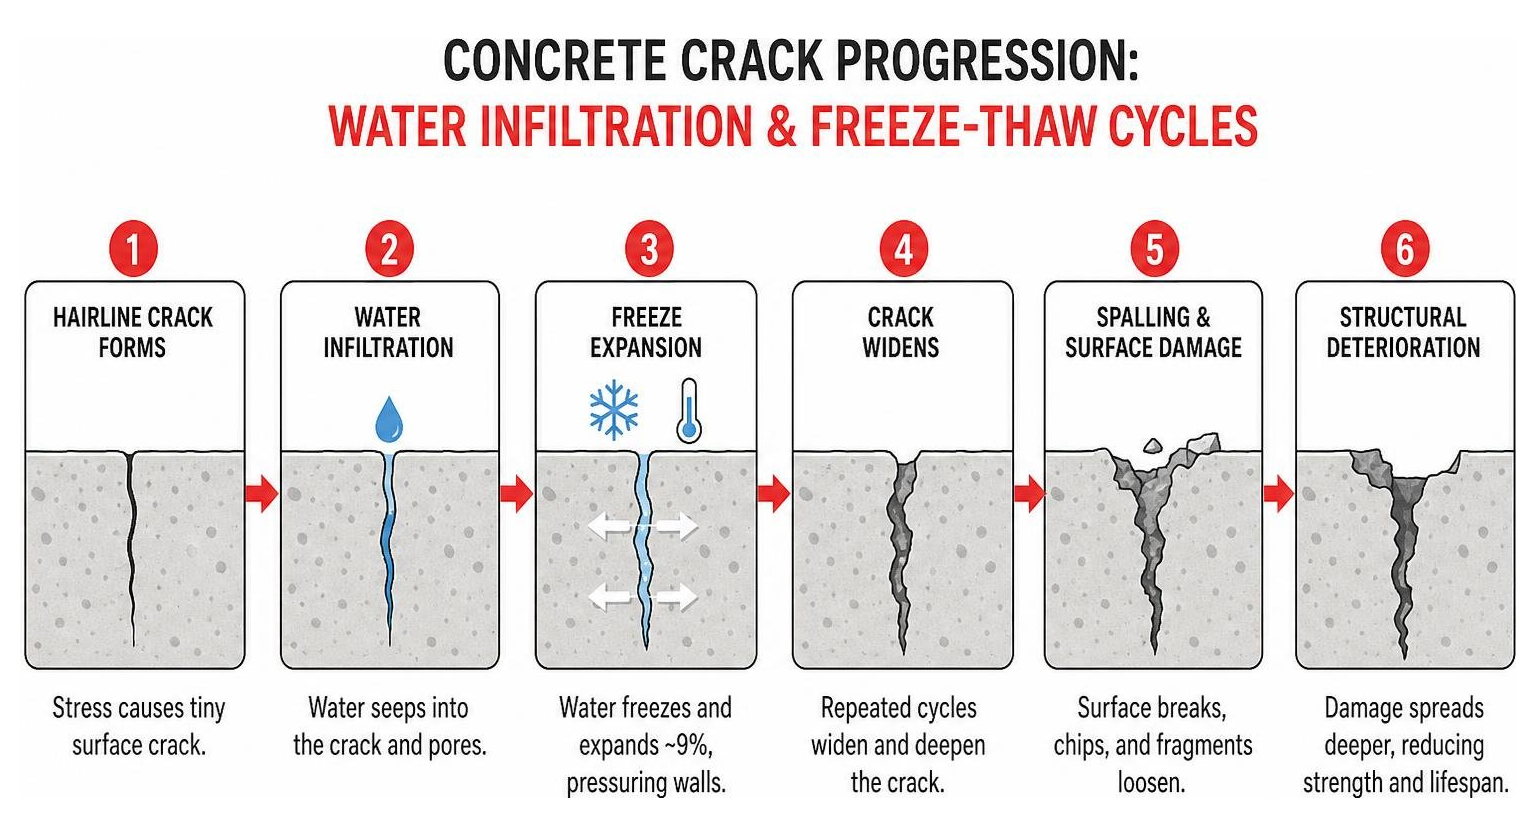
In our northern Illinois climate—spanning Cook and DuPage counties—temperature fluctuations cause up to 90% of driveway cracks. When the hot summer sun beats down on driveways in Downers Grove or Norridge, the concrete expands. In the freezing depths of winter, it contracts. If the slab doesn’t have properly spaced control joints, or if those joints are clogged, the concrete will relieve its internal stress by cracking on its own.
Other major culprits include:
- Freeze-Thaw Cycles: Water seeps into tiny pores and hairline cracks. When it freezes, it expands by about 9%, acting like a tiny wedge that slowly forces the concrete apart.
- Soil Movement and Settling: If the subgrade underneath the slab was poorly compacted or washed away by heavy rains, the heavy concrete will sink under its own weight, causing settlement cracks.
- Shrinkage: As concrete cures, water evaporates. If it dries too quickly during installation, surface shrinkage cracks can form. (Using a high-quality 3000 psi mix can reduce this initial cracking by up to 30%, but older driveways are already past this point).
- Heavy Loads: Parking heavy trucks or construction equipment on a standard residential slab can easily overload its structural capacity.
Assessing the Damage: Hairline vs. Structural Cracks
Not all cracks are created equal. Some are merely “the wrinkles of your driveway”—purely cosmetic signs of aging. Others are structural warning signs that mean your driveway is trying to break dance.
- Hairline Cracks (Under 1/8 inch): These are narrow, shallow, and usually stable. If they are truly tiny, filling them with rigid material can actually make them look worse. However, sealing them with a flexible, micron-sized hairline filler can prevent water from sneaking in and starting the freeze-thaw destruction loop.
- Minor Cracks (1/8 inch to 1/4 inch): These are the prime candidates for a DIY fix. They are wide enough to accept flexible sealants and deep enough to benefit from a proper seal.
- Structural Cracks (Over 1/2 inch or uneven): If one side of the crack is higher than the other, or if the crack is wider than a half-inch, you are dealing with structural shifting or subgrade failure. Sealing these is a temporary band-aid; they require professional lifting, leveling, or replacement.
If you want to dive deeper into how concrete behaves and how to manage these issues, check out our detailed guide on How to Repair Driveway Cracks.
How to Repair Small Cracks in Concrete Driveway: The DIY Method
If your assessment shows that your driveway has minor, stable cracks (under 1/4 inch wide and even on both sides), you can absolutely tackle this as a weekend project.
However, let’s be realistic about DIY limitations. A DIY repair is designed to seal the crack to keep water and weeds out. It will not magically erase the crack visually, nor will it fuse the two broken slabs back into a single, continuous piece of concrete. If the earth moves, the crack may still shift.
To achieve a repair that lasts, you must focus on preparation. Clean surfaces can improve the bonding of your repair materials by up to 90%. If you try to apply filler over dirt, moss, or crumbling concrete, the sealant will simply stick to the debris and peel away within a single season.
The Essential DIY Tool Checklist
Before starting, gather these tools to ensure a smooth, uninterrupted project:
- Safety glasses and heavy-duty waterproof gloves
- Wire brush or masonry grinding wheel
- Hammer and cold chisel (for widening tight spots or removing loose chunks)
- Shop vacuum or leaf blower
- Caulk gun (heavy-duty ratio is best for thick polyurethanes)
- Putty knife or trowel
- Foam backer rod (for cracks deeper than 1/2 inch)
- Spray bottle filled with soapy water (for smoothing)
- Dry, clean sand
Choosing the Right Concrete Crack Filler
Picking the right material is the difference between a repair that lasts a decade and one that peels up during the next winter freeze.
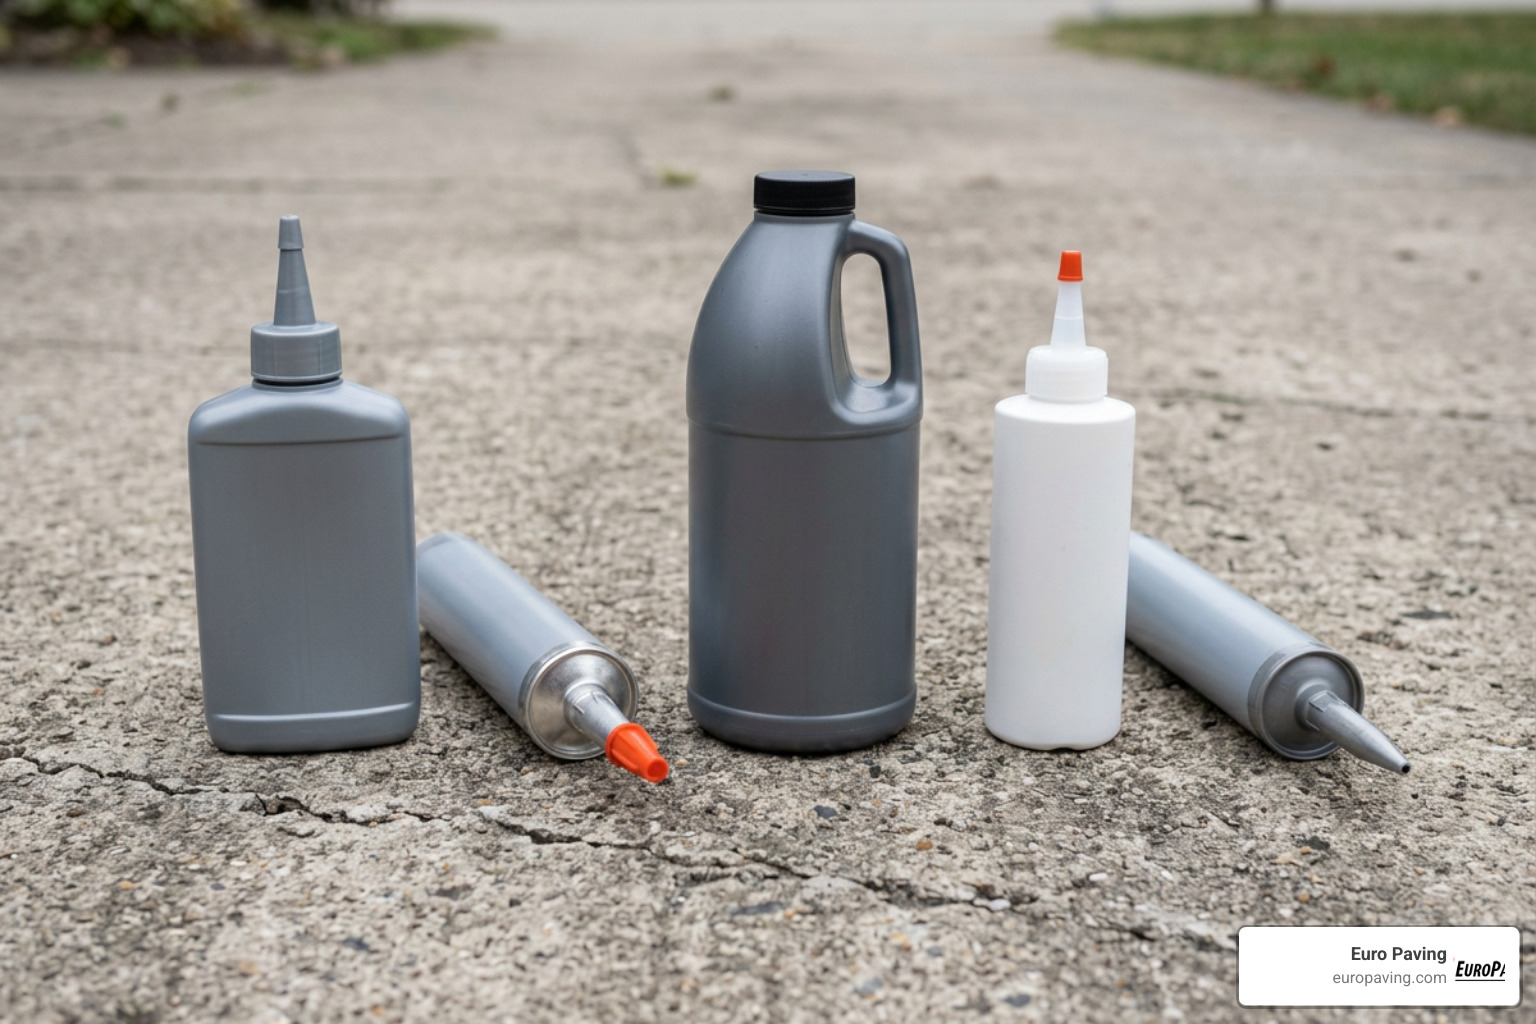
Avoid rigid concrete patches or mortar for active driveway cracks. Concrete slabs naturally expand and contract; rigid materials cannot move, meaning they will simply crack again during the next temperature swing. Instead, look for flexible, elastomeric sealants.
Here are the primary options you will find at local home improvement centers:
- Polyurethane Sealants (Self-Leveling vs. Non-Sag): This is the industry gold standard. Polyurethane is incredibly tough, highly adhesive, and remains flexible. It can stretch up to 700% without failing. Use self-leveling formulas for flat, horizontal surfaces because they flow easily into the crack to create a perfectly flat finish. Use non-sag formulas for sloped driveways or vertical surfaces so the product doesn’t run out.
- Epoxy Fillers: Epoxy is incredibly strong and excellent for structural repairs where you want to bond the concrete back together. However, it is rigid and can be tricky to apply for beginners.
- Latex/Acrylic Water-Based Fillers: These are very easy to apply and clean up with water. They offer a 70% success rate in preventing further damage when applied under ideal conditions, making them great for very light cosmetic fixes.
- Solvent-Based Fillers: These are highly durable and weather-resistant. Applying a high-quality solvent-based filler under the right conditions can extend the life of your driveway by up to 10 years.
To help you choose, refer to this comparison table:
| Filler Type | Best Used For | Flexibility | Ease of Application | Lifespan |
|---|---|---|---|---|
| Polyurethane (Self-Leveling) | Horizontal cracks (1/8″ to 1/2″) | Excellent | Moderate (Requires caulk gun) | 5–10 Years |
| Polyurethane (Non-Sag) | Sloped or vertical cracks | Excellent | Moderate | 5–10 Years |
| Epoxy | Structural bonding, non-moving cracks | Low | Hard (Requires mixing) | 10+ Years (If no movement) |
| Water-Based Acrylic | Hairline cracks, minor cosmetic touch-ups | Moderate | Very Easy | 2–3 Years |
| Solvent-Based Elastomeric | General weatherproofing, high-wear areas | High | Moderate | 5–10 Years |
For a deep dive into specific product recommendations and reviews, take a look at our breakdown of how to Stop the Split with These Top Driveway Crack Fillers.
Preparing to Repair Small Cracks in Concrete Driveway
Now, let’s get down to the actual work. Prep is 70% of the battle.
Step 1: Clean and Chisel
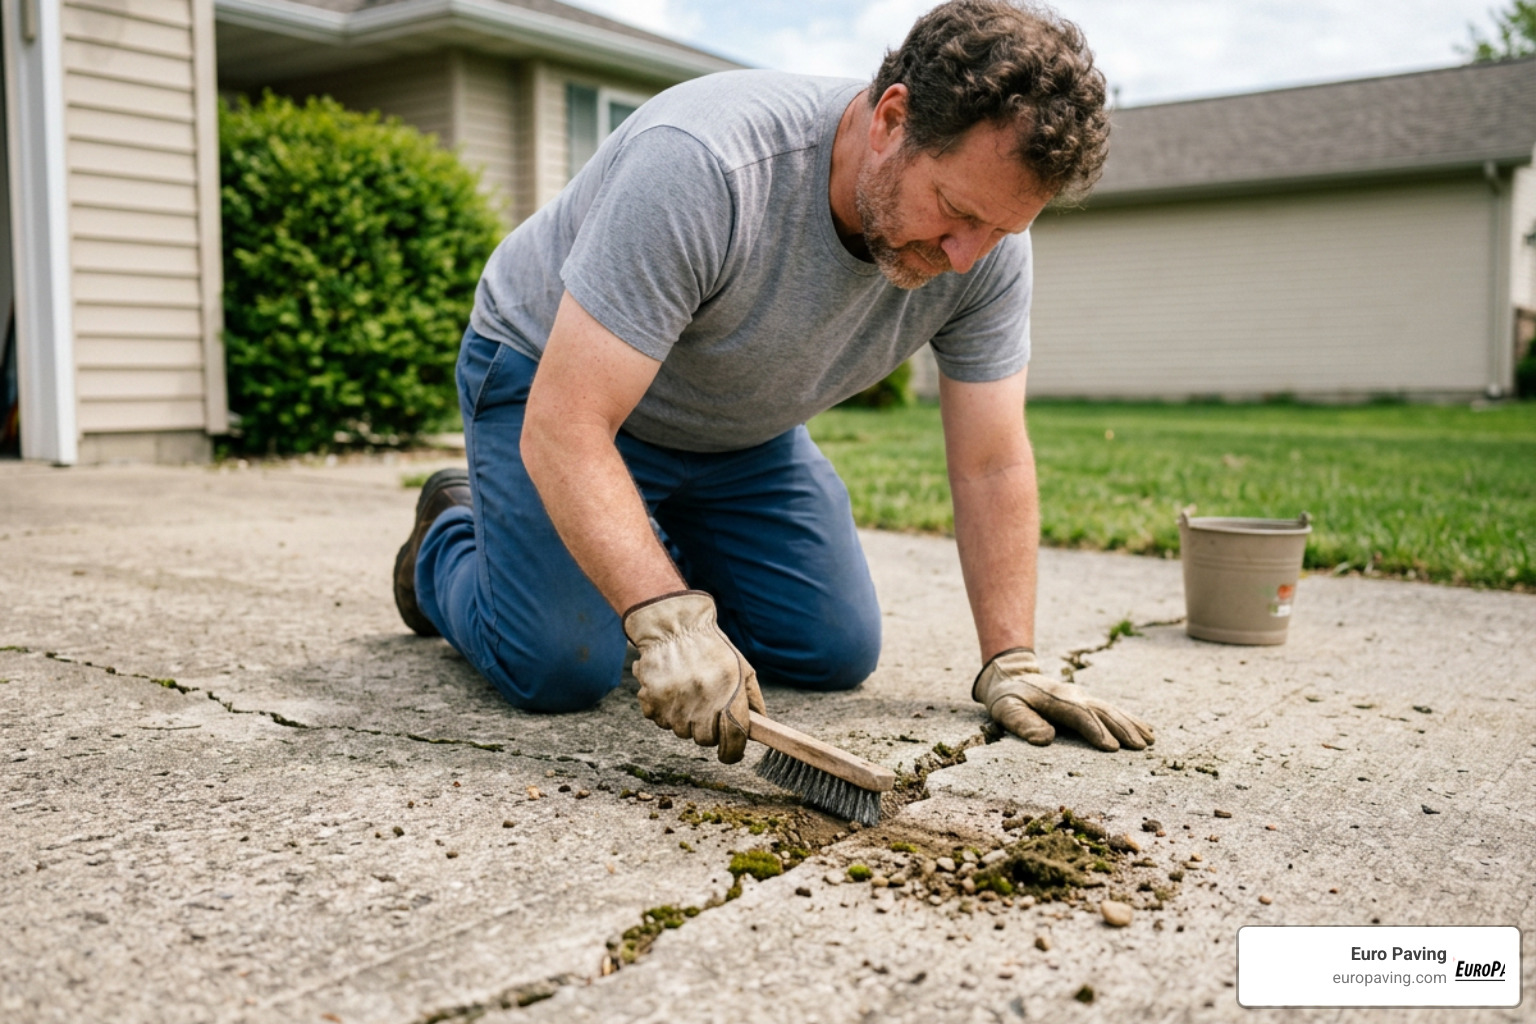
Start by inspecting the crack. If there are loose, crumbling pieces of concrete along the edges, use a hammer and a cold chisel to gently tap them away. You want to reach solid, stable concrete. Some pros recommend “undercutting” the crack—shaping it like an inverted “V” so the bottom of the crack is slightly wider than the top. This physically locks the filler in place.
Next, scrub the inside of the crack vigorously with a stiff wire brush to loosen dirt, algae, and old sealant.
Step 2: Vacuum and Dry
Use a shop vacuum or a leaf blower to blast all the dust, sand, and organic matter out of the crack. If you have a pressure washer, you can use it to clean the area thoroughly, but you must wait at least 24 to 48 hours for the concrete to dry completely. Moisture is the ultimate enemy of sealant adhesion. If the concrete is damp, the polyurethane won’t stick.
Step 3: Install the Backer Rod (If Needed)
If any part of the crack is deeper than 1/2 inch, do not fill the entire void with caulk. It will sink, crack, take forever to cure, and waste a lot of expensive product. Instead, press a foam backer rod (slightly wider than the crack) into the gap using a putty knife. The backer rod should sit about 1/4 inch below the surface of the concrete. For wider irregular gaps, clean dry sand can also be poured into the bottom of the crack to act as a base.
For more detailed step-by-step prep tips, you can read the classic DIY Driveway Crack Repair in 5 Simple Steps | Family Handyman.
Applying Filler to Repair Small Cracks in Concrete Driveway
With the crack cleaned, dried, and prepped, you are ready to apply the sealant.
Step 1: Apply the Sealant
Cut the nozzle of your caulk tube at a 45-degree angle, matching the width of your crack. Load the tube into your caulking gun. Starting at one end of the crack, hold the gun at a slight angle and pull the trigger smoothly. Drag the gun slowly along the crack, ensuring the filler flows deep into the void and fills it completely.
If you are using a self-leveling caulk, don’t overfill it. The product will slowly settle and level itself out flush with the surface. If you are using a non-sag caulk, overfill it slightly so you can tool it.
Step 2: Smooth and Finish
For non-sag polyurethane, spray the wet bead lightly with soapy water, then smooth it flush with the concrete using a wet finger, a putty knife, or a spoon.
Pro Tip: Wet caulk has a shiny, plasticky look that stands out against gray concrete. To make the repair blend in visually, lightly sprinkle clean, dry sand over the wet caulk. This adds a natural concrete texture and hides the shiny finish.
Step 3: Let It Cure
Keep off the driveway! Most quality polyurethane sealants require 24 to 48 hours to dry to the touch, and a full 3 to 5 days of curing before you should park a heavy vehicle on them.
Always check the weather forecast before starting. You need dry conditions with temperatures consistently between 50°F and 90°F for at least 24 hours post-application. Applying sealant in cold or rainy weather will ruin the bond.
The Limits of DIY: When to Call a Professional in Chicago
While sealing a few minor cracks is a satisfying Saturday project, DIY repairs have clear limits. There is a big difference between a cosmetic surface crack and a structural failure.
If your driveway exhibits any of the following symptoms, putting caulk on it is like putting a band-aid on a broken leg:
- Sunken or Heaved Slabs: If one side of the crack is significantly higher than the other, the soil beneath has settled or expanded. This creates a dangerous tripping hazard and can damage your car’s tires or suspension.
- Web-Like “Alligator” Cracking: If your concrete looks like a spiderweb went on a bender, the structural integrity of the slab is gone. This is usually caused by heavy loads overloading a thin slab or subgrade failure.
- Widespread Spalling or Scaling: If the top layer of your concrete is flaking off in large patches, the concrete mix itself is failing, often due to salt damage or poor installation.
In the Chicago area—from Arlington Heights and Norridge down to Hinsdale and Elmhurst—our intense winters and clay-heavy soils place immense stress on concrete. If your slab is uneven, it must be professionally lifted and leveled before any caulking can occur. Caulking an uneven crack will simply cause the sealant to tear and fail as the slabs continue to shift.
If you are facing extensive damage, it may be time to seek professional advice. Read our comprehensive Driveway Paving Near Me: Your Chicago 2026 Guide to explore your options.
Frequently Asked Questions about Driveway Crack Repair
How long do concrete crack repairs last?
A high-quality DIY repair using flexible polyurethane sealant typically lasts 5 to 10 years, depending on weather exposure, traffic, and the quality of your initial prep work. Because Chicago winters are harsh, we recommend inspecting your driveway annually and touching up any areas where the sealant has pulled away. For more long-term care advice, explore Don’t Let Your Driveway Crumble with These Maintenance Tips.
Should I use concrete patch or flexible caulk?
For active outdoor cracks, always choose flexible polyurethane caulk. Rigid concrete patches or mortars do not expand and contract. When the temperature changes, the concrete slabs will move, and the rigid patch will simply crack and pop out within a few months.
When should a driveway be resurfaced or replaced instead of repaired?
A concrete driveway typically has a lifespan of 25 to 30 years. If your driveway is approaching this age, has extensive deep cracking across more than 30% of its surface, or has severe structural settling, repair is no longer cost-effective. In these cases, you should consider resurfacing or a complete replacement. Learn more about making this decision in our guide on whether to Resurface or Replace Your Driveway Today.
Conclusion
Sealing small cracks in your concrete driveway is an excellent, budget-friendly way to protect your home’s curb appeal and prevent water from causing severe structural damage during our brutal Chicago winters. With a little patience, the right flexible polyurethane sealant, and meticulous cleaning prep, you can easily complete this project in a single weekend.
However, if your concrete is sinking, crumbling, or simply past its prime, temporary patches won’t solve the underlying issue.
At Euro Paving, we specialize in transforming tired, cracked driveways and backyards into stunning, high-durability outdoor living spaces. Serving the Chicago suburbs—including Arlington Heights, Hinsdale, Mount Prospect, and Glenview—we design and install custom brick paving driveways, elegant patios, and family-friendly backyard designs complete with custom fire pits.
Unlike concrete, custom brick pavers are highly resistant to freeze-thaw cracking because the individual bricks can shift naturally with the soil without breaking. Plus, they add unmatched elegance and long-term value to your home.
Ready to upgrade your home’s exterior with a permanent, beautiful solution? Schedule a professional consultation for brick paving driveways with Euro Paving today and let us bring your vision to life!