TOOLS
- stakes
- spade
- tamper
- rubber mallet
- screed or rake
MATERIALS
- gravel
- plastic paver edging
- sand
- board
- brick pavers
Adding a patio to your yard is an excellent idea for landscaping, and it can be a fun do-it-yourself project. If you have some time and the right tools, you don’t need to hire a professional brick paver to install your brick patio in Chicago. We will show you step by step process whenever it will be a new addition to your house or you have to repair your old brick patio and don’t want to spend money to fix it or repair your patio. To see more examples how the finished version looks like, just click on brick paving patio gallery
STEP 1 – Choose the Size
The first step to building your brick patio is to decide on the size. You may have an old patio that you’re replacing, or you may be starting from scratch in a dirt or grassy area. Decide what furniture you want for the patio and find the furniture’s measurements. Once you’ve chosen a size and location, mark the outline of the patio and set a stake at each of the four corners.
STEP 2 – Clear the Area
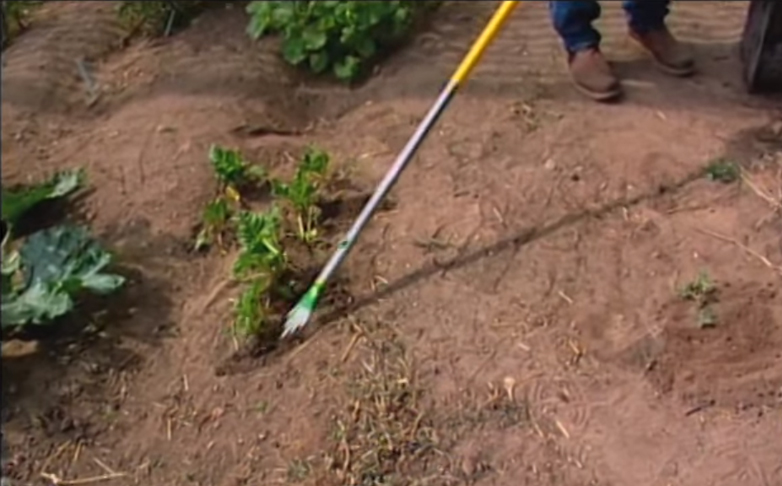
After you’ve marked the boundaries of your patio, clear the area. Remove all the old bricks if you are rebuilding or fixing an old patio. If the area is just grass, clear all the grass, making sure you remove all the roots. If you have a sod lifter, it can make the removing of grass quicker and easier. You can place the sod on another part of your lawn if you don’t want to waste it. The area should be completely excavated and at a depth of about seven or eight inches. Make sure the area is completely level.
STEP 3 – Lay a Gravel Base
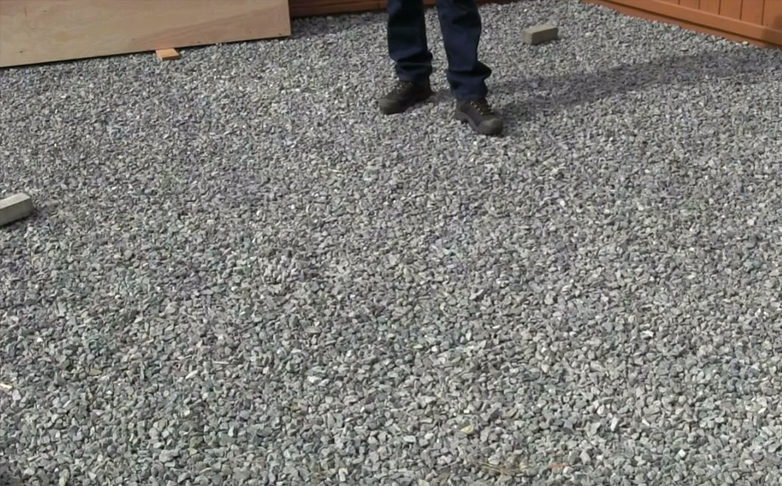
Spread a layer of gravel over the area as a base. Add gravel one or two inches at a time, and make sure it is compact before adding more. Use a rake to even out the gravel as much as possible, and use either a hand tamper or a power tamper to smooth down the gravel and make it level. You could also rent a plate compactor to make this step quicker. When you’re finished, the base should be about four inches deep.
STEP 4 – Lay the Edging
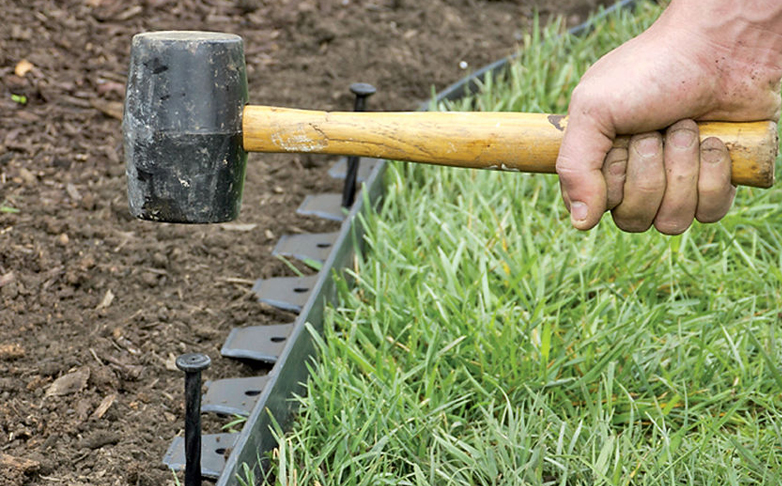
After you’ve finished laying the base, cut the plastic paver edging to the correct lengths and lay the edging along the patio’s borders. This will secure the pavers once you lay them. Hammer some spikes or stakes through the plastic edging into the ground to be sure it’s completely secured.
STEP 5 – Pour Sand
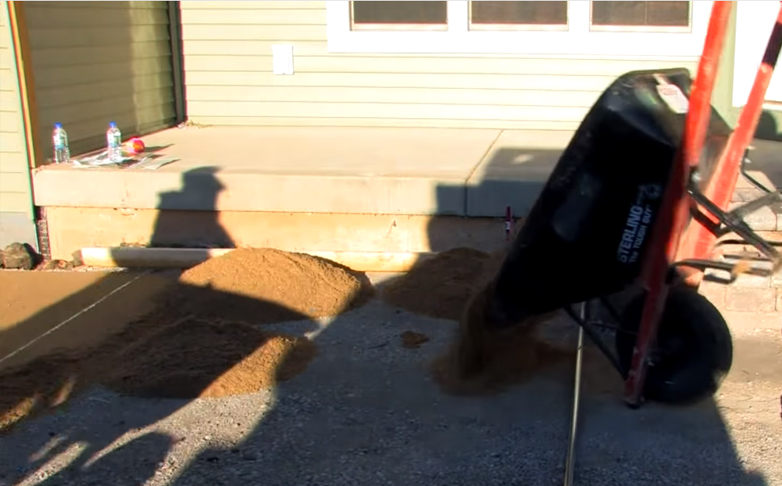
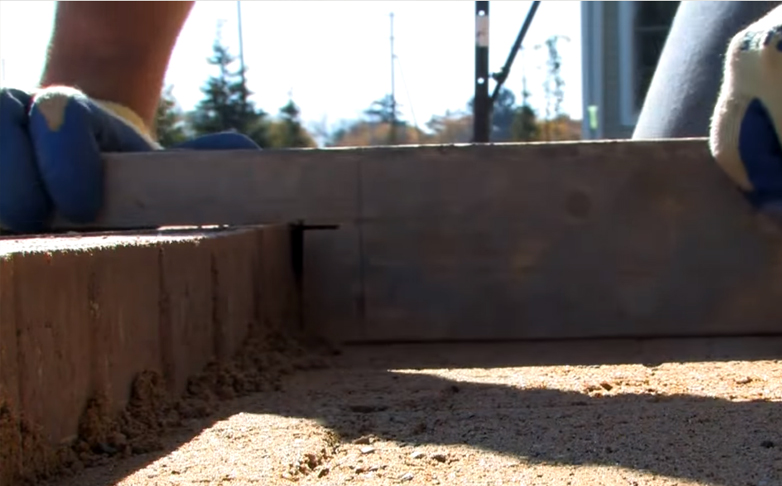
The layer of sand should have a depth of one inch. Place two pipes with one-inch diameters parallel on the base. Then, spread sand over the base, covering the pipes. You can use a 2×4 to smooth out the sand over the pipes and remove any excess, which will leave you with a one-inch bed of sand.
STEP 6 – Screed the Area
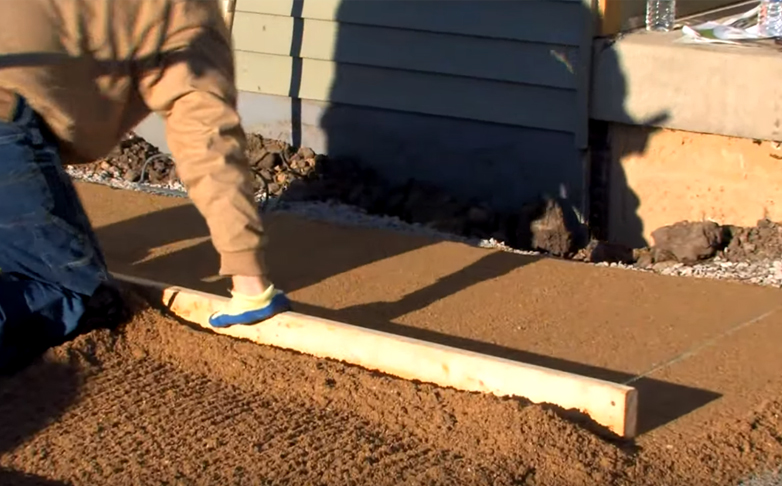
After removing the one-inch pipes, you can use a screed to smooth and level the sand. If you don’t have a screed, you can use the head of a rake to spread the sand evenly over the base. Add more sand to any low spots and screed the whole area again, making it as level as possible.
STEP 7 – Set the Pavers
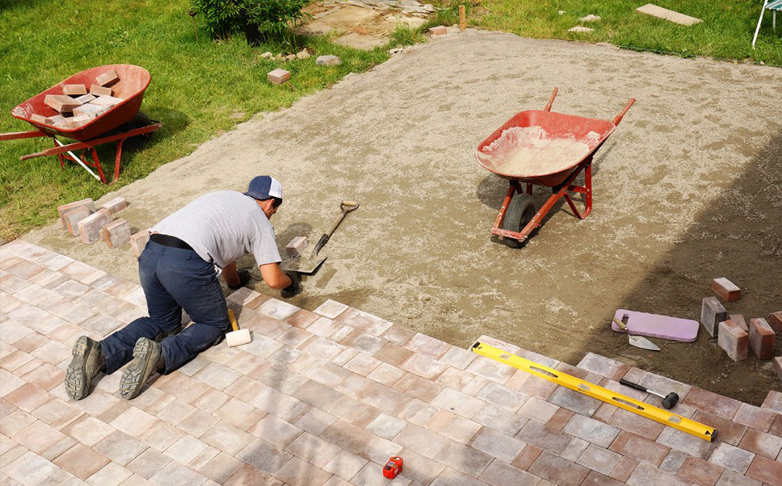
Beginning at an edge or in a corner, begin setting the pavers. Make sure you drop them into place rather than sliding them. All the pavers should be packed tightly and with an even surface, and you should follow a consistent pattern for the entire area. You can use a rubber mallet to help them set. Once you reach the final edges, there will probably be a few irregular spaces that need to be filled. You can either use a hammer and chisel or a circular saw to cut the bricks into the right shapes.
STEP 8 – Spread More Sand
After you’ve set all the pavers and the whole patio is covered, spread another layer of sand over the area to fill the joints. This layer should be about a half inch deep. Using a push broom, help the sand fill in the joints and gaps between the pavers. You can then spray the patio with some water, which will let the sand sink into the gaps. You may have to repeat this step a couple of times until all the gaps are completely full.
STEP 9 – Use a Plate Compactor
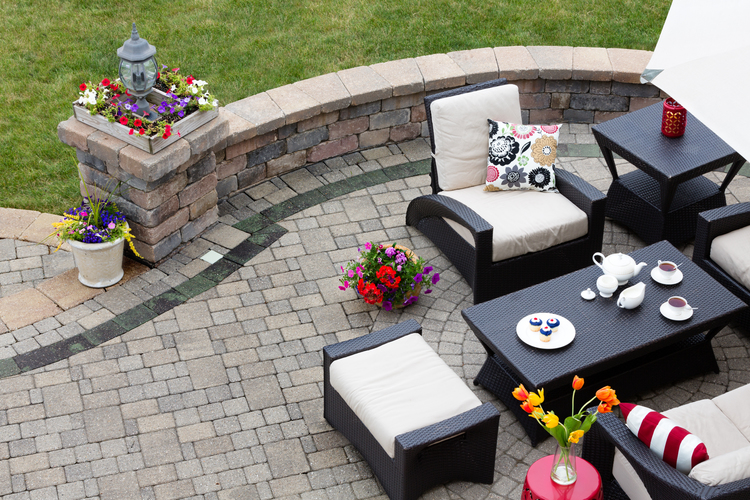
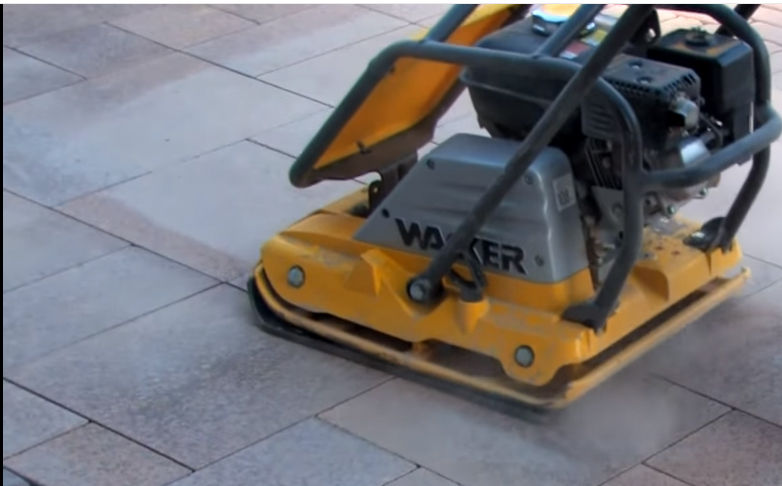
If you own or have rented a plate compactor, you can run it over the patio to set the bricks and the sand. You could also use a hand tamper or a powered tamper. Once the bricks are completely set, you can sweep any extra sand or dirt off the patio and decorate it with plants, furniture, and lighting.
If you enjoy working outside and doing hands-on projects, you can build your own paver patio. If you don’t feel you will make it on your own just call us and we would be more than happy to help you to fix your brick patio, we will repair it for you or build a new patio for you with the 3D design. We do all types of brick patios in Chicago and we are brick patio pavers, the best paving company in Chicago area.
 You can call us also if you have any questions related to brick patio cost or you want to know how to build brick patios in oak lawn, hillside, and almost in whole Chicago!
This is a great addition to your home and will increase the home value of the property as well!



e7q2q3
qhzorw
dtacne
qbchjr